
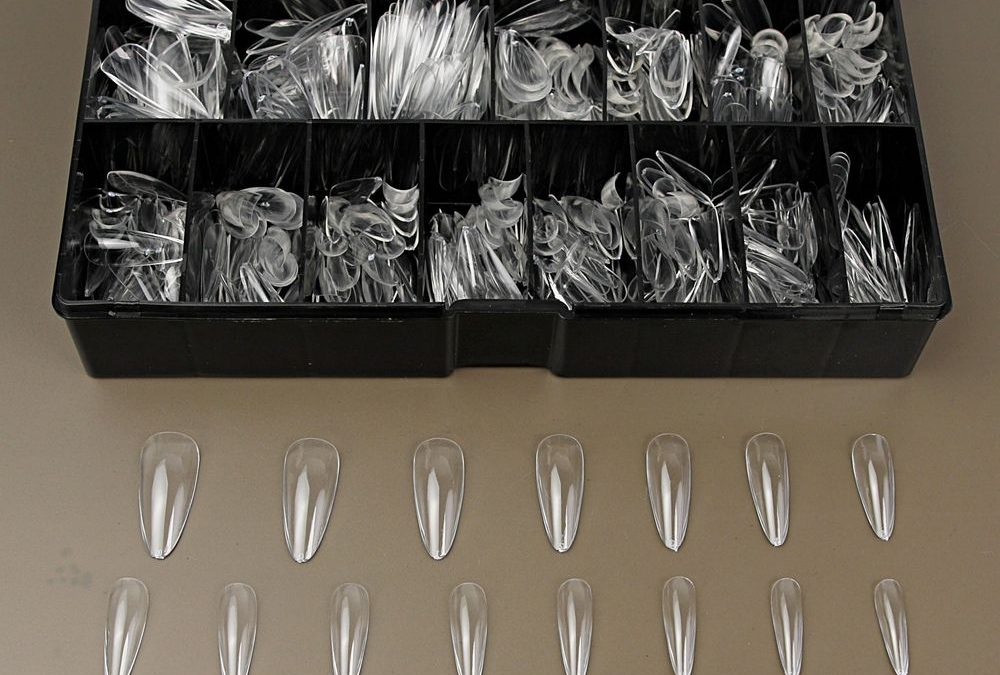
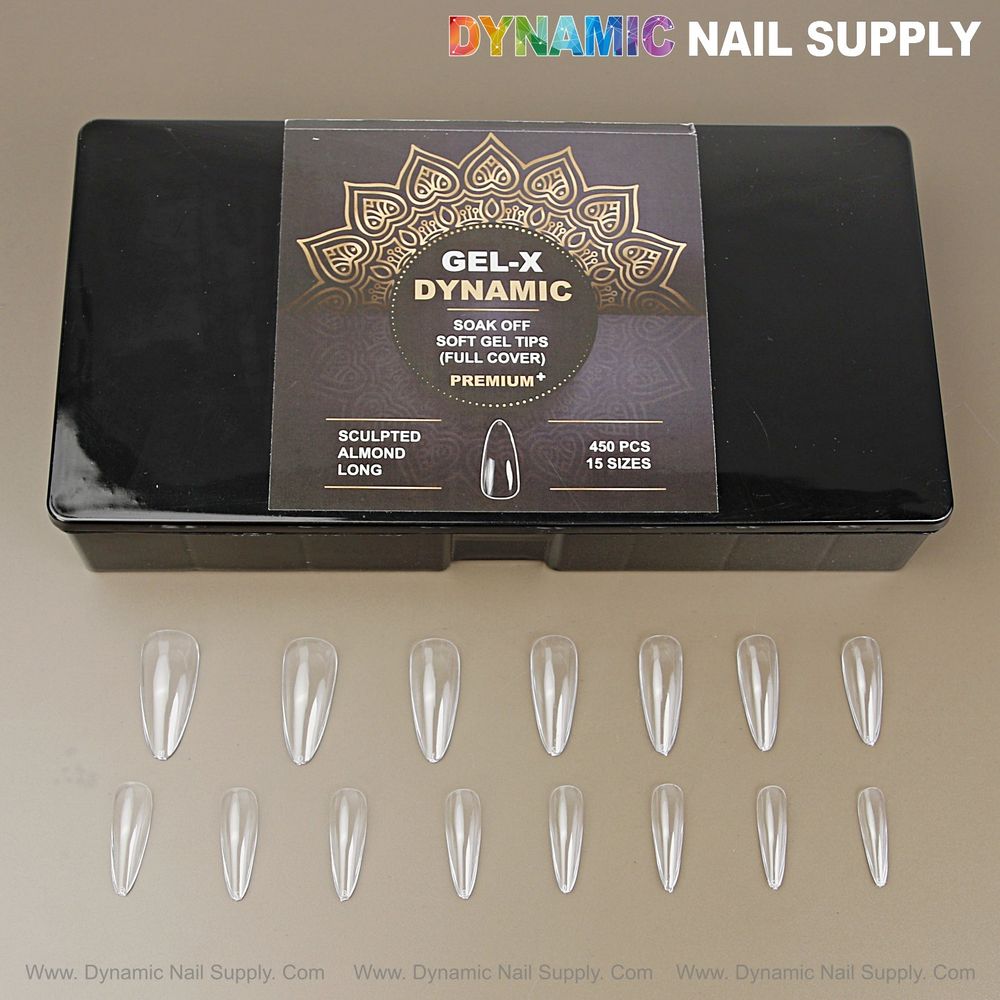
Sculpted Almond (Long) Full Cover Soft-Gel Nail Tips (Black Box) are long, pre-shaped full-cover soft-gel tips made for fast, consistent extensions.
Tools and station layout for fastest set times
Set your station so every item is within reach in a predictable order. Use a small tray with compartments: sizes sorted left to right, adhesive gels and brushes in the middle, lamp on the right. Keep an LED lamp rated for 30-second cures and one buffer, one file, and one clean brush at hand to avoid moving between stations.
- Essential tools: 180 grit buffer, 180–240 grit file, clean lint-free wipes, dehydrator, bond, low-viscosity gel adhesive, LED lamp.
- Tip organization: Use the boxed set card to keep sizes visible; numbered tips speed selection.
- Prep extras: a small container for trimmed tips and a sticky mat to hold foil and small waste.
Pre-appointment prep to shave minutes off set time
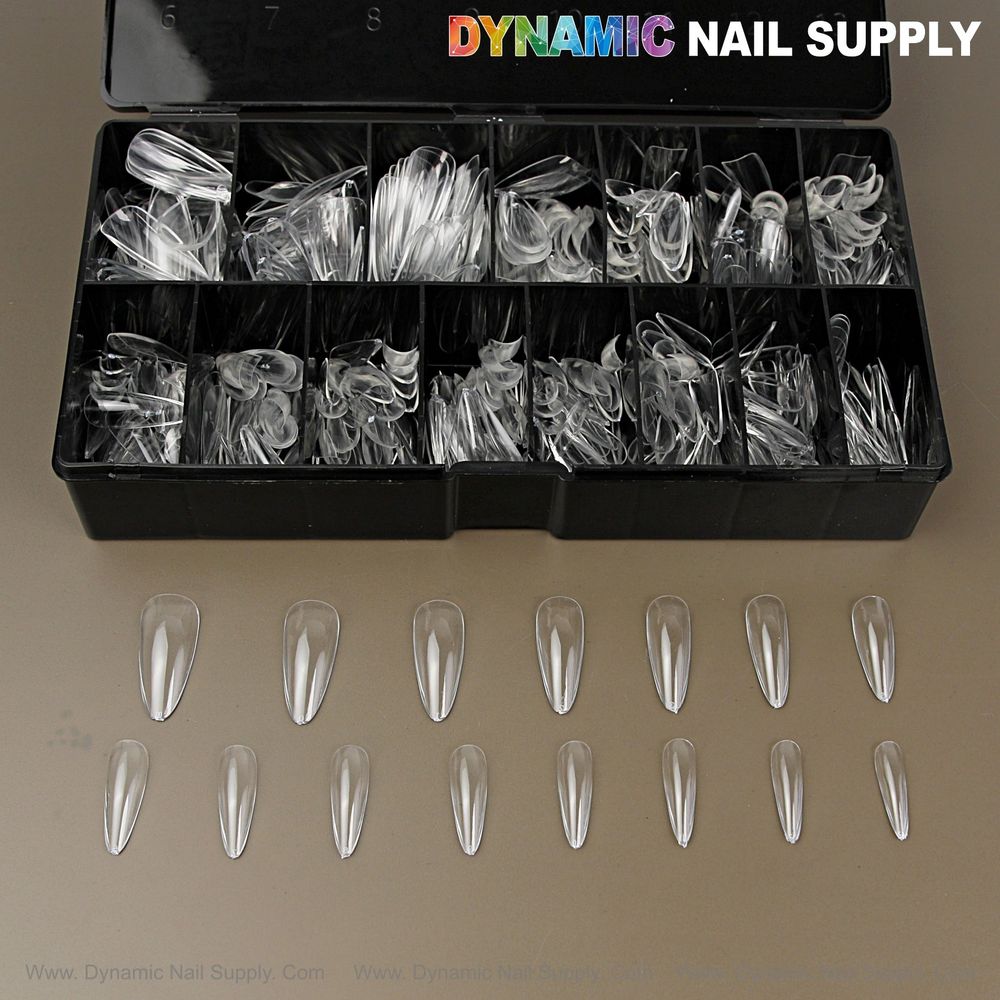
Before the client sits, pre-sort sizes into a numbered palette using the separate size compartments in the box. Confirm nail lengths and expected shape so you can preselect likely sizes for both hands. If you’re doing multiple clients with the same preferred lengths, prepare a second tray with the most-used sizes preloaded.
- Sort sizes quickly: group the most common five sizes first.
- Check natural nail length: minimal tip trimming saves filing time.
- Set lamp under hand so you can cure without moving the client.
Fast, reliable prep routine for adhesion and retention
Good prep prevents returns and refills. Work the same sequence every set so your hands move predictably. Follow these short, repeatable steps for each nail to preserve speed and quality.
- Light shape natural edge and remove shine with a 180 buffer; keep strokes brief to avoid thinning the nail plate.
- Cleanse with a lint-free wipe and dehydrator to remove oils.
- Apply a thin layer of bond only to the natural nail; avoid flood at the cuticle.
Step-by-step rapid application for Sculpted Almond (Long)
Work in small zones—four nails, then thumb—so your lamp placement and hand positioning stays consistent. Use a steady rhythm: prep four, apply four, cure four.
- Prep underside of the tip with a light buff to remove the sheen and create microscopic texture for gel adhesion.
- Apply a thin bead of low-viscosity gel adhesive to the tip underside near the well; avoid excess that can squeeze out.
- Seat the tip at a 45° angle, press forward to expel air, and hold briefly with a clean finger or tool while you flash cure for 2–3 seconds if needed.
- Fully cure the hand for 30 seconds under LED with the palm slightly lifted to avoid contact lines on the tip surface.
- Trim and refine length only where necessary; for long almond you’ll usually need minimal trimming—focus on sidewall shaping for symmetry.
Shaping and finishing without slowing the set
Long sculpted almond tips are pre-shaped, so preserve that silhouette. Use a fast, controlled filing sequence rather than a long session of random strokes.
- File sidewalls in a single pass per side with a medium grit until even.
- Blend the apex lightly with short strokes to keep strength.
- Finish with a 240 grit touch-up to remove buffer marks, then cleanse before topcoat or builder gel application.
Time-saving product choices and pairing
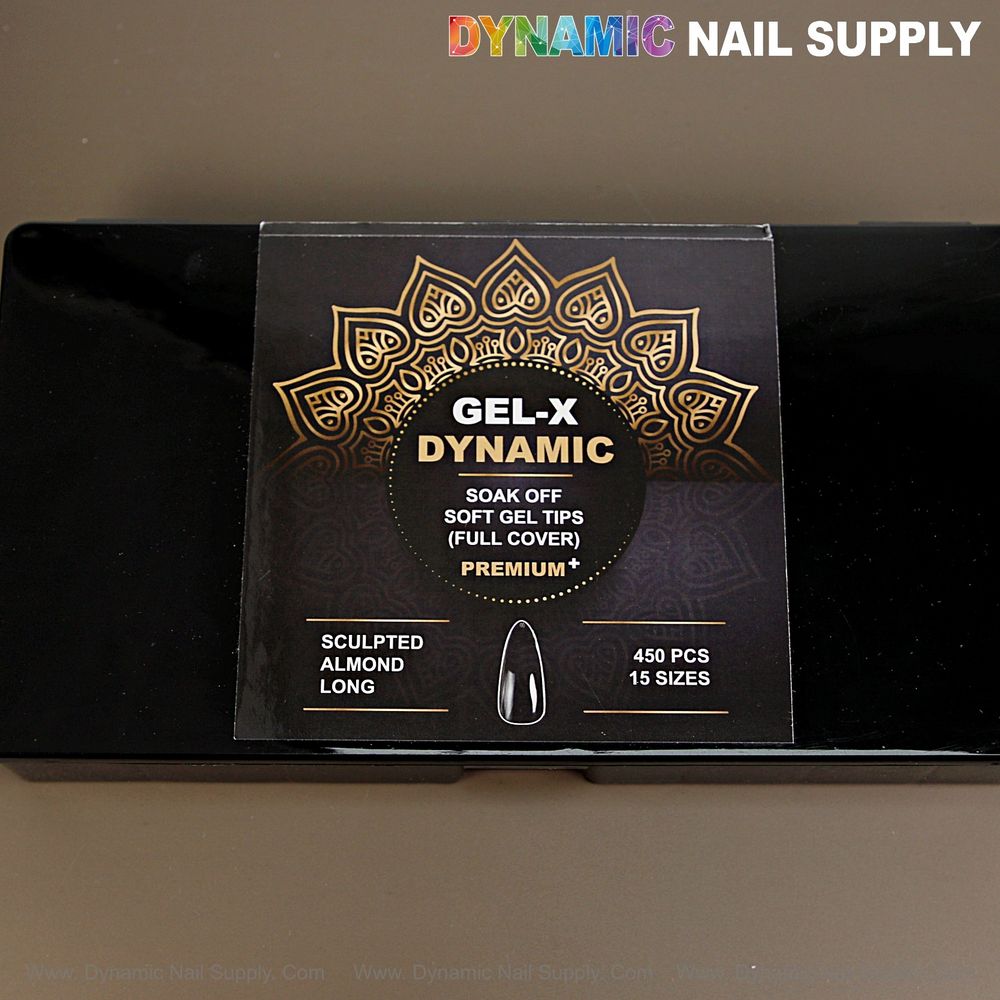
Choose a thin, non-wipe builder or a 6-in-1 tip gel to limit layering and cures. One thin builder coat over the seam often secures the joint and reduces filing time compared with heavy layering. Remember the boxed set’s visual design makes it easy to identify sizes quickly—use that to your advantage when you’re working fast.
Price note: the boxed set is listed at $12; prices may change.
Best for and Not ideal for
Best for
- Busy salon techs who need consistent long almond shapes out of the box.
- Bridal or event work where fast, repeatable sets matter.
- Beginner techs learning efficient Gel-X workflows with pre-shaped pieces.
Not ideal for
- Clients who require highly customized, extreme shape sculpting from blank tips.
- Those who refuse any visible seam and demand complete natural-feel overlays with heavy builder work.
Common speed pitfalls and how to avoid them
- Over-buffing: removing too much natural nail slows you later with fixes; keep strokes light.
- Excess adhesive: causes squeeze-out and requires cleanup; place gel sparingly.
- Poor organization: not pre-sorting sizes costs seconds per nail that add up; use the box’s numbered layout.
Safety and handling notes
Avoid skin contact with uncured gel adhesives and bond. Use ventilation for prolonged work and follow LED lamp safety guidelines to protect skin and eyes. Store the boxed set in a cool, dry place and keep lids closed to avoid dust on the clear tips.
Workflow recap and pairing tips
Work in small zones, pre-sort sizes, use thin adhesive gels, and preserve the existing almond silhouette to cut service time while keeping a high-quality finish.
Use the boxed card with metallic accents as a quick visual guide for sizes and keep a second preloaded tray for repeat clients; it speeds selection and maintains consistency. If you prefer a branded reference for product specs, you can note the product name in your inventory for easy reorder with Sculpted Almond Long tips.
- Pre-sort sizes and set up tray.
- Follow a four-nail rhythm: prep, apply, cure, finish.
- Use thin gel layers and minimal filing for speed and retention.