
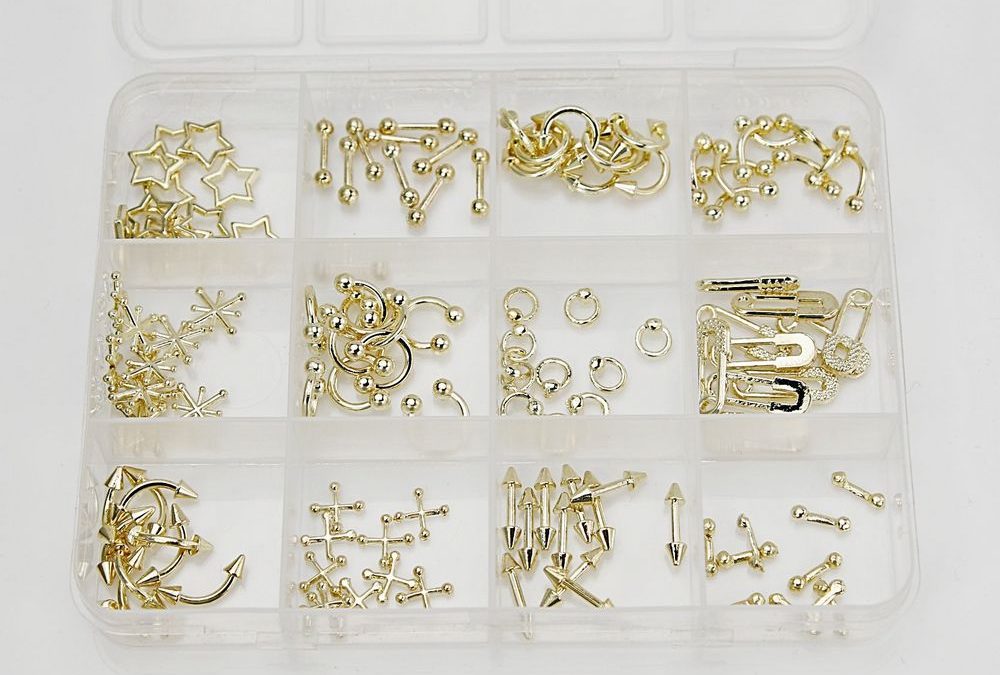
12-grid Gold Piercing Goth Nail Art is a compact set of bright polished gold 3D charms in a clear 12-compartment case meant for Y2K, goth, and glam accent work.
Design intent and who will appreciate these gold accent nails for red
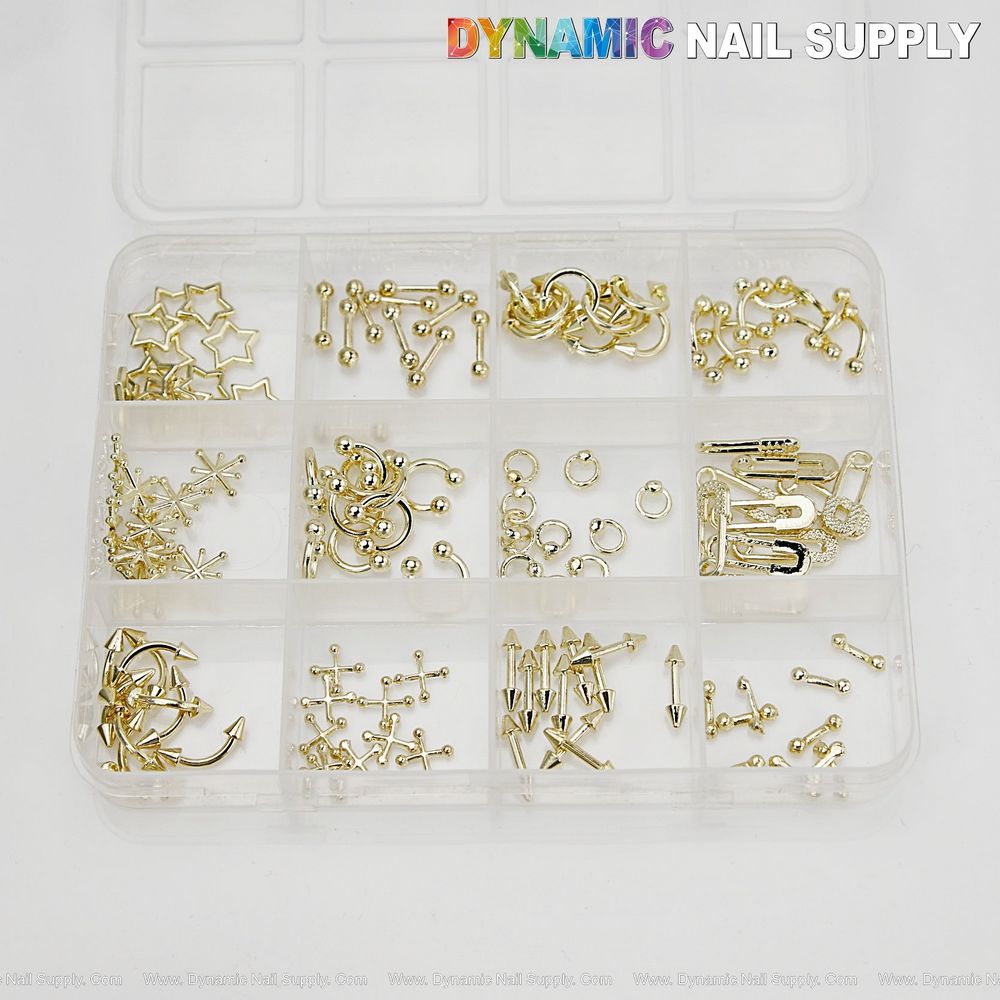
You work with clients who want bold holiday looks that read luxe and a little edgy; this 12-grid Gold Piercing Goth Nail Art set gives you uniform bright gold reflective pieces that read glamorous over red or nude lacquer. The pieces are three-dimensional metal charms — small rings, spikes, bars, stars and safety-pin‑style shapes — each kept visible and organized in its own compartment. Price listed at $7.99 may change.
For a quick product reference in your booking notes see 12-grid Gold Piercing Goth Nail Art for the exact set used in the layouts below.
Recommended base colors and finishes to pair with gold accent nails for red
- Classic holiday red: A deep true red or slightly blue-based crimson creates maximum contrast with the bright gold chrome‑like finish. Use full‑coverage gel or lacquer for an even, glossy canvas.
- Nude and warm beige: A creamy nude lets the gold read elevated and wearable with formal dresses; this is the go‑to when the client wants subtlety with a luxe touch.
- Deep burgundy or oxblood: For richer, moody holiday looks the gold pops while keeping a gothic glam mood.
- Topcoat options: High‑gloss gel topcoats amplify the mirror reflections of the charms; matte topcoats mute the nail for contrast but keep the charm reflective if left uncoated (see Securing & durability).
Layout ideas: single charm, clustered studs, and punk piercings
Use the 12-grid Gold Piercing Goth Nail Art set as the focal point of several layouts that photograph well for seasonal promotions.
- Single charm at cuticle: Place a single small ring or star near the cuticle center on a red oval or almond nail for a minimalist holiday touch. This layout photographs clean and upsells well to clients seeking understated glam.
- Grouped cluster accent: Create a 2–4 piece cluster with a small spike, a bar, and a ring on the ring finger over nude or red to make a statement accent nail. Use mixed shapes from separate compartments so each shape is distinct.
- Spikes and rings rowed along the side: For a punk Y2K take, line two or three spikes or bars along one lateral edge of the nail on deep burgundy for an edgy holiday option.
- Minimalist tip anchor: Use a single elongated bar or small ring on the center tip of a French or squared nail to create a luxe metallic tip instead of paint.
Prep, adhesives and securing methods for 3D metal charms
Preparation and secure placement matter more than the charm choice. Work quickly once adhesive is applied to avoid misalignment and to control how much topcoat or gel covers the piece.
- Prep the natural nail or enhancement: Dehydrate and lightly buff only the surface area where the charm will sit. Clean with nail cleanser to remove oils.
- Adhesive options: Use a small dot of thick builder gel or a thin drop of tacky gel adhesive for instant placement; for salons you can also use a small bead of UV‑cure gel to set the piece before finishing.
- Placement tools: A stainless steel wax pick or small angled tweezers gives precise control for the tiny 3D pieces found in this set.
- Seal without burying the charm: For charms with open rings or spikes avoid covering the full shape under thick product; instead, lock only the base contact area with a thin layer of gel and cure. For maximum durability add a second thin seal around the edges.
Topcoat choices and finish recommendations for holiday photos
Choose topcoats based on the look you want to photograph and the client’s lifestyle.
- Full encapsulation: Best for clients who need longevity and a smooth surface; encapsulate the charm base with clear builder gel and finish with high gloss for reflective, jewel‑like photos.
- Edge‑seal only: Thinly seal around the charm perimeter and leave the raised metal visible for tactile texture and shine; this keeps the charms punchy over red lacquer without losing 3D definition.
- Matte contrast: Matte over the painted nail while leaving the charm high gloss creates a modern, editorial contrast favored for lookbook images.
Retailing and booking upsell messaging for holiday clients
Present the charm set as an add‑on service or seasonal upgrade. Sell the look with clear options and pricing tiers so clients can choose subtle or dramatic variations.
- Base price + single charm: Offer a competitive add‑on for a single focal star or ring.
- Cluster premium: Charge more for clustered or multiple placement designs that require longer service time.
- At‑home care kit: Offer a small travel glue sample or a micro brush for touchups, and include simple wear tips on a printed card.
Best for and Not ideal for
- Best for: Holiday clients wanting luxe reflective accents, Y2K or gothic glam looks, photoshoots, and fast seasonal promos that photograph well on red or nude bases.
- Not ideal for: Clients who need fully flush, snag‑free surfaces for heavy manual work, or services where complete encapsulation over the whole charm is required for comfort.
Safety and handling notes
These are small metal pieces; warn clients about potential snagging on fabrics and avoid placing large raised charms on nails for clients who use heavy gloves or work with machinery. Keep charms organized in their 12‑grid case to prevent loss and to maintain hygiene between uses. Dispose of any deformed pieces; do not force bent metal back into shape.
Photo and salon presentation tips
Photograph the set on white or soft grey backdrops to highlight the reflective gold finish. Use one hand position showing both the red nail canvas and the single gold focal charm; include a close crop on the clustered layout to show texture. Label the service as a seasonal ‘Gold Accent’ upgrade in your booking system to capture searches for holiday looks.
Short recap:
- Use the 12-grid Gold Piercing Goth Nail Art set as a focal point over red or nude base colors.
- Choose single charms for minimal looks or clustered studs for high impact.
- Secure with builder gel or tacky adhesive and seal the base; avoid burying the full piece unless encapsulation is requested.